# Table of Contents
# web.xml
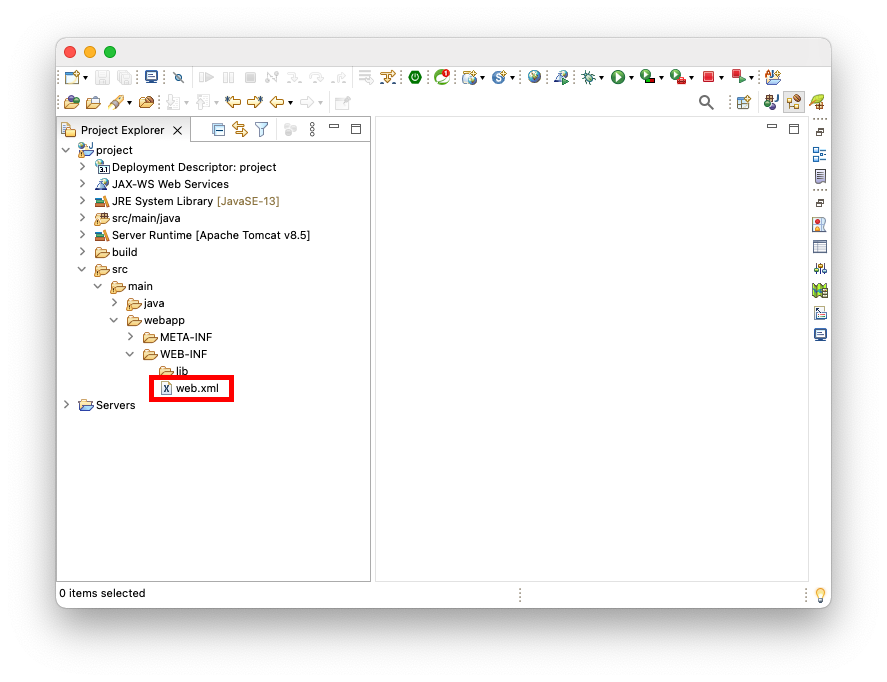
WAS는 Java Web Application를 구동하면서 web.xml파일을 참고하여 Web Container와 Servlet Context를 구성한다. Eclipse로 생성한 Java Web Application 프로젝트에서는 보통 다음 경로에 위치한다.
web.xml에 포함되는 정보는 다음과 같다.
# Welcome File
Welcome File은 Web Application의 기본 웹 페이지다. 클라이언트가 서블릿 이름을 생략하여 요청하면 웹 서버는 Welcome File을 찾아서 응답한다.
<?xml version="1.0" encoding="UTF-8"?>
<web-app xmlns:xsi="http://www.w3.org/2001/XMLSchema-instance" xmlns="http://xmlns.jcp.org/xml/ns/javaee" xsi:schemaLocation="http://xmlns.jcp.org/xml/ns/javaee http://xmlns.jcp.org/xml/ns/javaee/web-app_3_1.xsd" id="WebApp_ID" version="3.1">

    <welcome-file-list>
        <welcome-file>index.html</welcome-file>
        <welcome-file>index.htm</welcome-file>
        <welcome-file>index.jsp</welcome-file>
        <welcome-file>default.html</welcome-file>
        <welcome-file>default.htm</welcome-file>
        <welcome-file>default.jsp</welcome-file>
    </welcome-file-list>

</web-app>
# Servlet URL 매핑
<?xml version="1.0" encoding="UTF-8"?>
<web-app xmlns:xsi="http://www.w3.org/2001/XMLSchema-instance"
    xmlns="http://xmlns.jcp.org/xml/ns/javaee"
    xsi:schemaLocation="http://xmlns.jcp.org/xml/ns/javaee http://xmlns.jcp.org/xml/ns/javaee/web-app_3_1.xsd"
    id="WebApp_ID" version="3.1">

    <!-- ... -->

    <servlet>
        <servlet-name>controller</servlet-name>
        <servlet-class>com.yologger.app.controller.Controller</servlet-class>
    </servlet>
    <servlet-mapping>
        <servlet-name>controller</servlet-name>
        <url-pattern>/controller</url-pattern>
    </servlet-mapping>

</web-app>
# Listener 정의
<?xml version="1.0" encoding="UTF-8"?>
<web-app xmlns:xsi="http://www.w3.org/2001/XMLSchema-instance"
	xmlns="http://xmlns.jcp.org/xml/ns/javaee"
	xsi:schemaLocation="http://xmlns.jcp.org/xml/ns/javaee http://xmlns.jcp.org/xml/ns/javaee/web-app_3_1.xsd"
	id="WebApp_ID" version="3.1">

    <!-- Listener -->
    <listener>
        <listener-class>com.yologger.app.listener.AppListener</listener-class>
    </listener>
</web-app>
# Filter 정의
<?xml version="1.0" encoding="UTF-8"?>
<web-app xmlns:xsi="http://www.w3.org/2001/XMLSchema-instance" xmlns="http://xmlns.jcp.org/xml/ns/javaee" xsi:schemaLocation="http://xmlns.jcp.org/xml/ns/javaee http://xmlns.jcp.org/xml/ns/javaee/web-app_3_1.xsd" id="WebApp_ID" version="3.1">

    <filter>
        <filter-name>MyFilter</filter-name>
        <filter-class>com.yologger.app.MyFilter</filter-class>
    </filter>
    <filter-mapping>
        <filter-name>MyFilter</filter-name>
        <url-pattern>/*</url-pattern>
    </filter-mapping>

</web-app>
# ServletContext 정의
<?xml version="1.0" encoding="UTF-8"?>
<web-app xmlns:xsi="http://www.w3.org/2001/XMLSchema-instance"
	xmlns="http://xmlns.jcp.org/xml/ns/javaee"
	xsi:schemaLocation="http://xmlns.jcp.org/xml/ns/javaee http://xmlns.jcp.org/xml/ns/javaee/web-app_3_1.xsd"
	id="WebApp_ID" version="3.1">
    <context-param>
        <param-name>name</param-name>
        <param-value>Paul</param-value>
    </context-param>

    <context-param>
        <param-name>nation</param-name>
        <param-value>England</param-value>
    </context-param>

</web-app>
# Error Page
<?xml version="1.0" encoding="UTF-8"?>
<web-app xmlns:xsi="http://www.w3.org/2001/XMLSchema-instance" xmlns="http://xmlns.jcp.org/xml/ns/javaee" xsi:schemaLocation="http://xmlns.jcp.org/xml/ns/javaee http://xmlns.jcp.org/xml/ns/javaee/web-app_3_1.xsd" id="WebApp_ID" version="3.1">

    <error-page>
        <error-code>404</error-code>
        <location>/errorPage404.jsp</location>
    </error-page>

</web-app>
# web.xml 파일 없애기
Servlet 3.0 부터는 web.xml없이 Servlet Context를 초기화할 수 있다. javax.servlet.ServletContainerInitializer인터페이스의 구현체를 만들고 META-INF/services/javax.servlet.ServletContainerInitializer라는 텍스트 파일에 추가하면 된다.
# ServletContainerInitializer
우선 web.xml을 사용한 간단한 예제를 살펴보자. Controller 서블릿 클래스를 컨테이너에 등록하고 URL 매핑을 하고있다.
<?xml version="1.0" encoding="UTF-8"?>
<web-app xmlns:xsi="http://www.w3.org/2001/XMLSchema-instance"
    xmlns="http://xmlns.jcp.org/xml/ns/javaee" xsi:schemaLocation="http://xmlns.jcp.org/xml/ns/javaee http://xmlns.jcp.org/xml/ns/javaee/web-app_3_1.xsd"
    id="WebApp_ID" version="3.1">

    <servlet>
        <servlet-name>controller</servlet-name>
        <servlet-class>com.yologger.app.controller.Controller</servlet-class>
    </servlet>
    <servlet-mapping>
        <servlet-name>controller</servlet-name>
        <url-pattern>/Controller</url-pattern>
    </servlet-mapping>

</web-app>
이제 ServletContainerInitializer인터페이스를 사용하여 위와 동일한 코드를 구현해보자. web.xml을 삭제하고 ServletContainerInitializer인터페이스의 구현체를 정의한다.
package com.yologger.app.config;

public class AppInitializer implements ServletContainerInitializer {

    @Override
    public void onStartup(Set<Class<?>> set, ServletContext servletContext) throws ServletException {
        ServletRegistration.Dynamic servlet = servletContext.addServlet("controller", Controller.class);
        servlet.setLoadOnStartup(0);
        servlet.addMapping("/Controller");
    }
}
그리고 META-INFO/services 디렉토리에 javax.servlet.ServletContainerInitializer라는 파일을 생성한다. 그 다음 AppInitializer클래스의 경로를 입력한다.
com.yologger.app.config.AppInitializer
이제 웹 어플리케이션을 다시 시작해보자. 서블릿 컨테이너는 ServletContainerInitializer인터페이스의 구현체를 참조하여 컨텍스트를 생성하게된다.
# SpringServletContainerInitializer
스프링 프레임워크는 ServletContainerInitializer를 상속하는 SpringServletContainerInitializer를 사용한다. SpringServletContainerInitializer는 내부적으로 XML 파일 형태의 컨텍스트 파일을 읽어서 Spring IoC Container를 생성한 후 서블릿으로 등록한다.
← Servlet Filter JSP →